Whether you are replacing your old washing machine, moving to a new home, or performing major repairs, knowing how to properly disconnect your appliance is crucial. This process might seem daunting at first, but with the right guidance, tools, and precautions, you can safely disconnect your washing machine. But what helps is taking a look at the process, step by step, and learning about some of the other things related to disconnecting your washing machine.
Preparation is Key
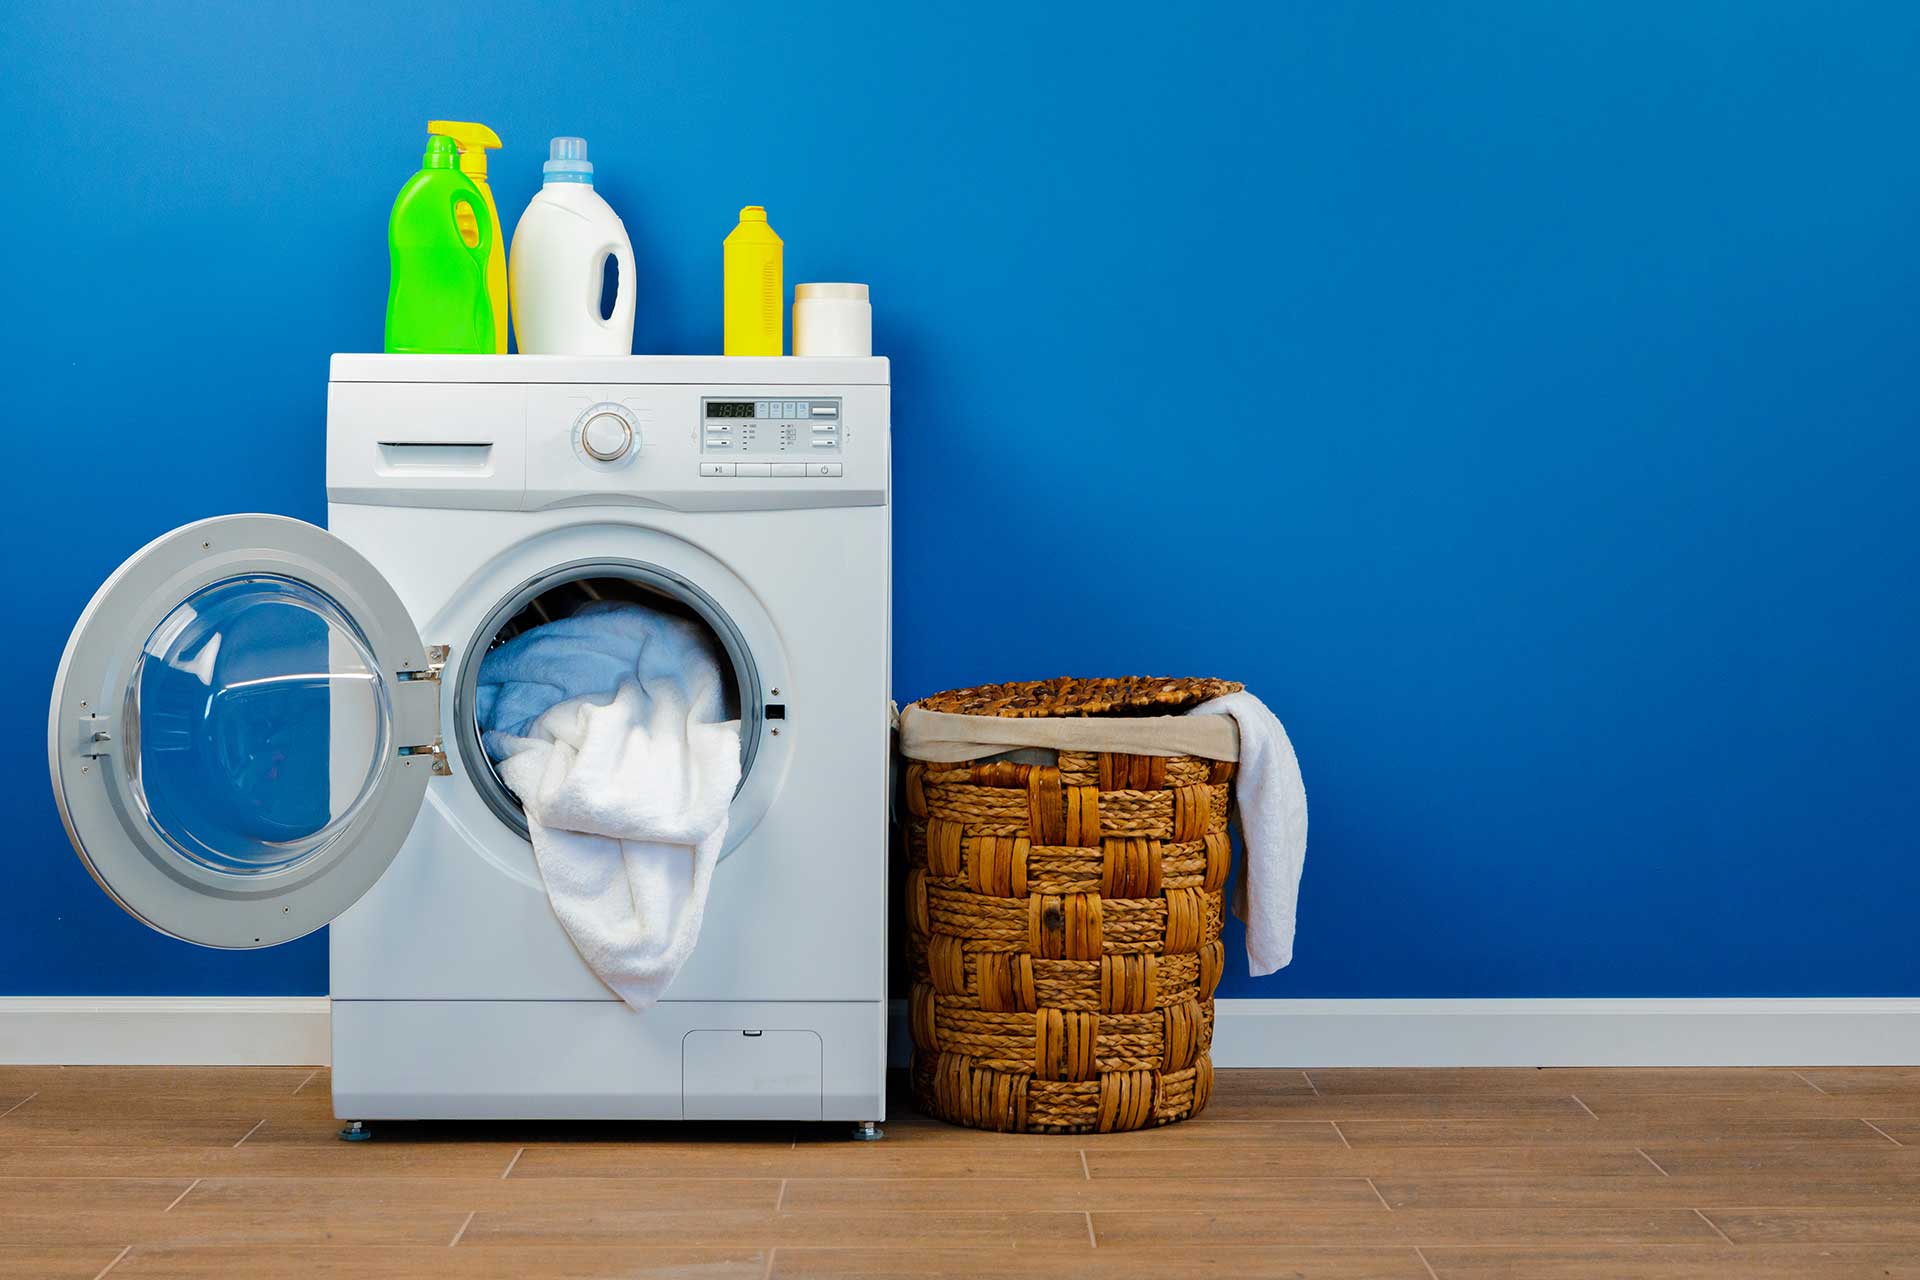
Before you begin the disconnection process, it’s essential to gather all necessary tools and materials.
- Adjustable pliers
- Bucket and towels
- Screwdriver
- Washing machine manual (if available)
It’s also wise to clear the area around your washing machine, giving yourself ample space to work. This means clearing away any laundry items, detergents, or anything else that might be in the way.
Safety First
Safety should always be your top priority when working with any appliance. Start by unplugging the washing machine from the electrical outlet. If the plug is behind the machine and difficult to reach, turn off the power at the circuit breaker. Failing to turn off the power increases your risk of electrical shock during the disconnection process.
Shutting Off the Water Supply
The next thing you need to do is cut off the water supply to your washing machine. Start by locating the hot and cold water valves, which are typically found directly behind the appliance or under a nearby sink. Turn these valves clockwise until they’re fully closed. For old or stiff valves, you might need to use pliers but be gentle to avoid damaging them.
Once the water is shut off, it’s time to relieve any remaining pressure in the hoses. The fastest way to do this, is to run your washing machine’s fill cycle for a few seconds. This releases any water left in the lines and make the disconnection process smoother.
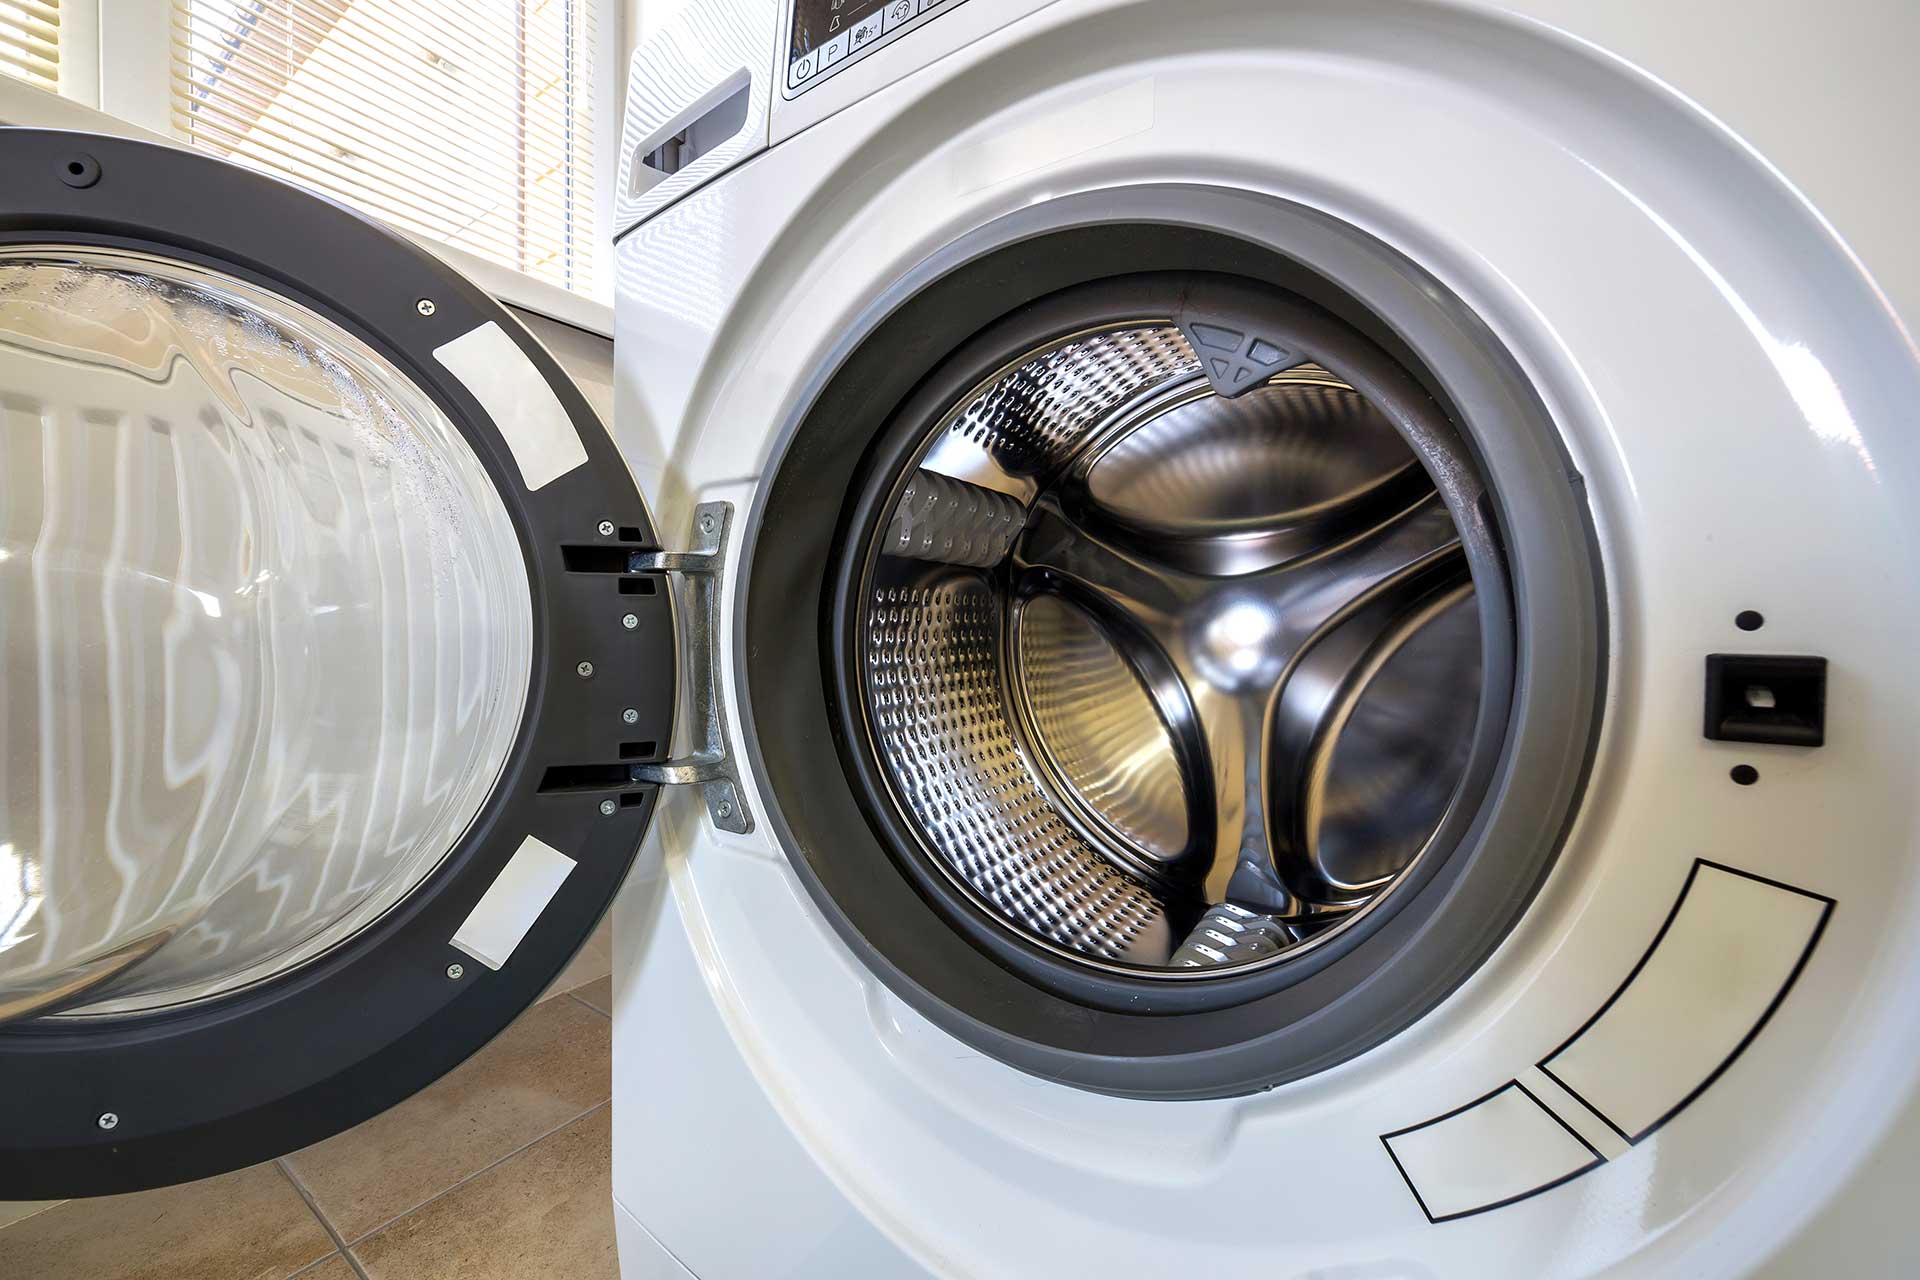
Disconnecting the Water Supply Hoses
Now comes the part where you’ll likely encounter some water spillage, so make sure you have your bucket and towels ready. Start by locating the connection points where the water supply hoses meet the back of the washing machine. Using your pliers, carefully loosen the hose fittings. As you do this, be prepared for some water to leak out. And, don’t freak out this is normal and why you’ve got your bucket handy.
Once the hoses are loose, completely remove them from the washing machine. If you elevate the ends of the hoses above the connection points you can prevent any additional water from spilling out. You may want to drain any remaining water from the hoses into your bucket.
Don’t Forget About the Drain Hose
The drain hose which is larger than the water supply hoses, is responsible for carrying wastewater away from your machine. In most homes, this hose is inserted into a standpipe or sometimes directly into a sink drain. You want to carefully remove the drain hose from wherever it’s connected. Be cautious, as there might still be some water in the hose – again, your bucket will come in handy here.
Moving the Washing Machine
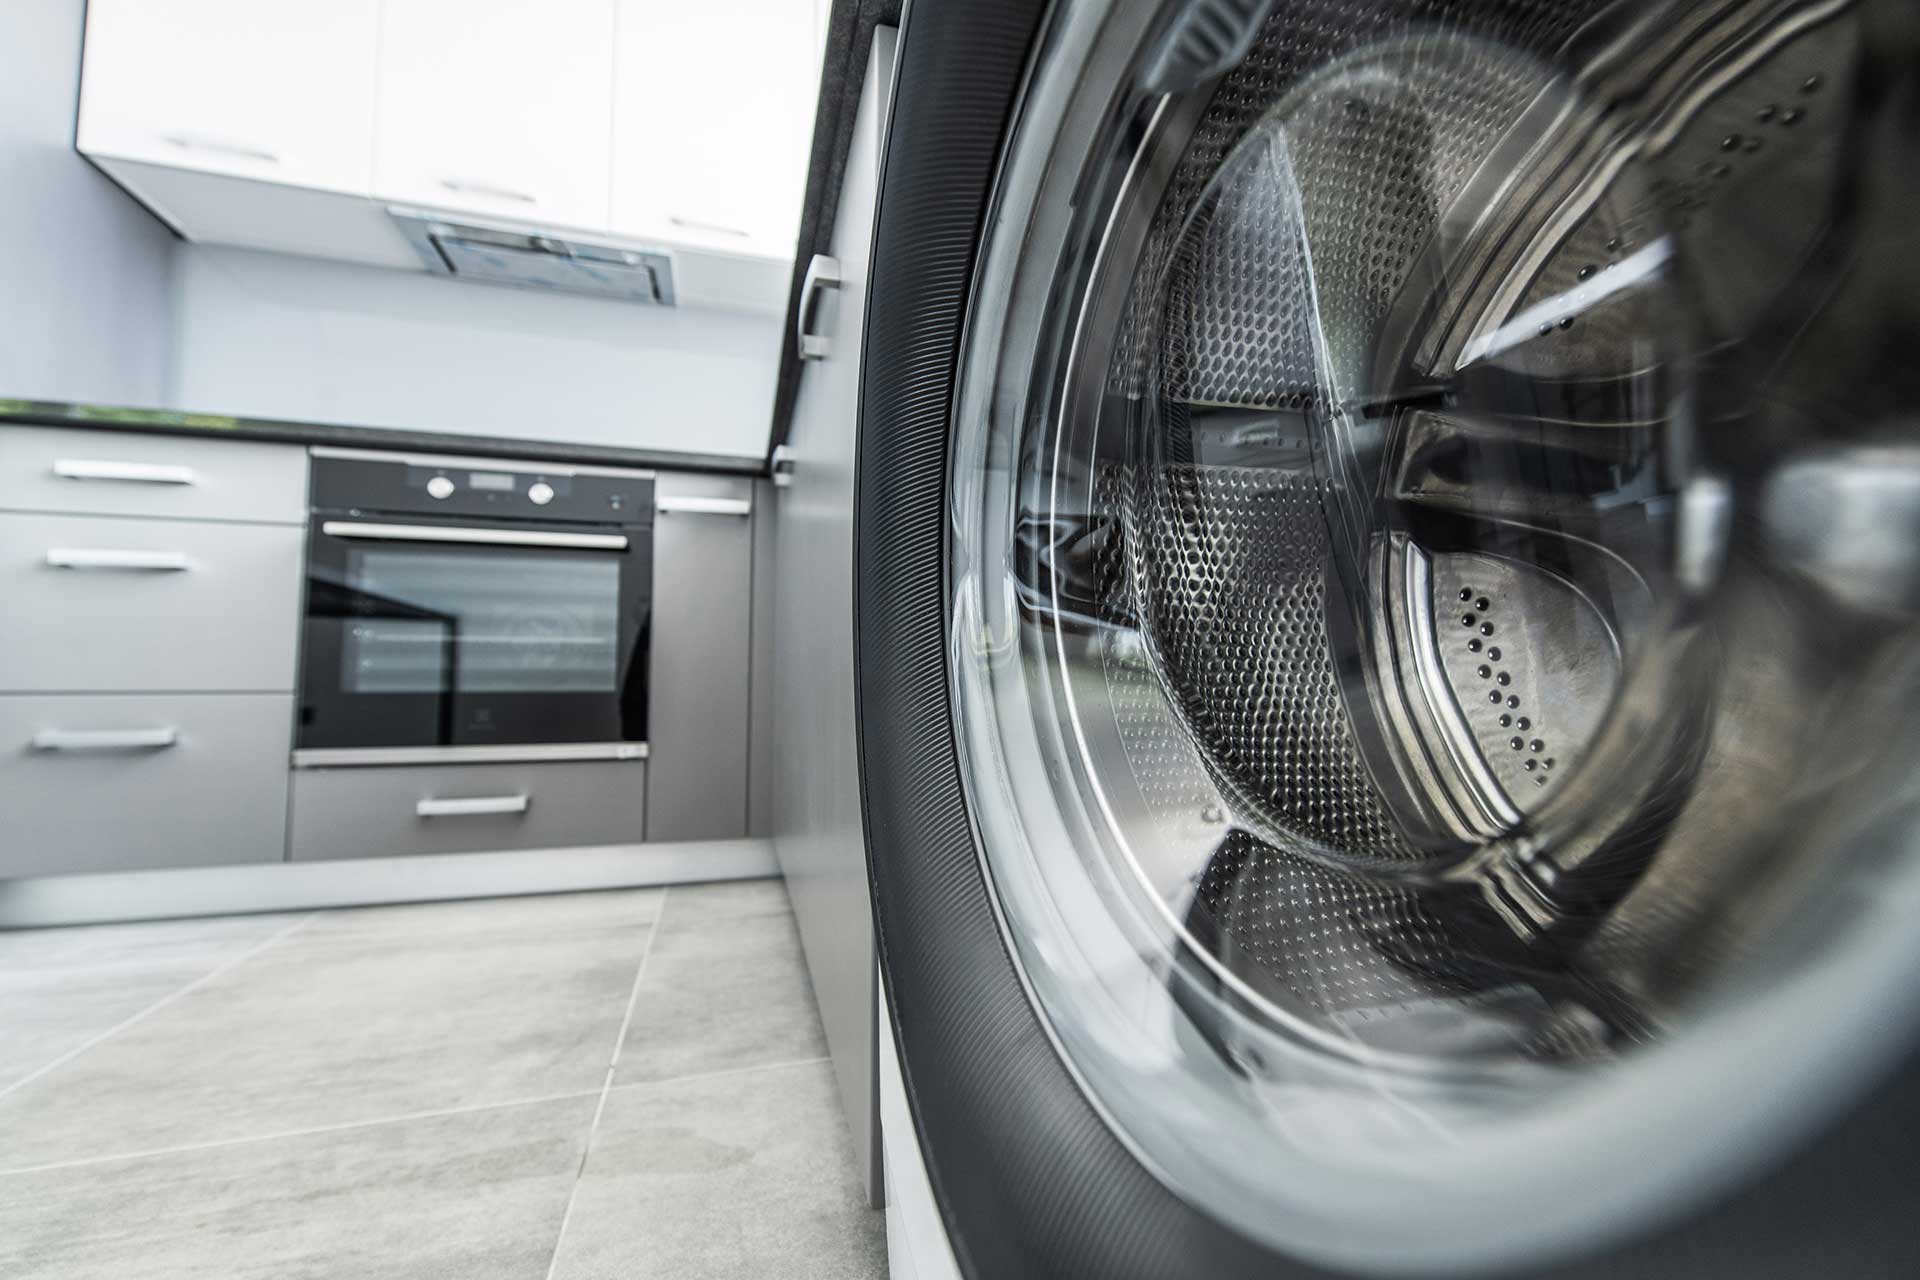
Once all hoses are disconnected, you’re almost ready to move your washing machine. However, don’t start pushing or pulling yet, there’s an important step that’s often overlooked – securing the drum. In many washing machines, the drum is suspended and can move around during transport, potentially causing damage.
To get specific instructions for securing your washing machine’s drum simply look at your owner’s manual. In many cases, you’ll need to reinstall the shipping bolts that came with your machine when it was new. If you don’t have these, you can often use rope or strong straps to secure the drum to the washing machine’s frame.
Once the drum is secured, you’re ready to move the machine. Just a quick reminder that washing machines can be pretty heavy. If you’re not feeling sure about moving it on your own, it’s totally okay to ask for a hand or even bring in some pros to help out.
It’s Disconnected, Now What?
Once you’ve successfully disconnected your washing machine, you might be wondering about what happens. If you’re replacing your old machine with a new one, you’ll want to reverse this process to install the new appliance. However, there are a few things you want to do before putting your new machine in.
- Inspection time: This is an excellent opportunity to inspect your water supply lines. If they’re old, cracked, or showing signs of wear, consider replacing them. Taking the time to do this now can prevent future leaks and water damage.
- Clean-up: Take advantage of the exposed area behind and under where your washing machine usually sits. This space often accumulates dust, lint, and sometimes small items that have fallen behind the machine. A deep cleaning will help your laundry room and your future washing machine.
- Upgrades: If you’re in the process of replacing your washing machine, consider whether any upgrades to your laundry area might be beneficial. Upgrades might include a water leak detector, water-resistant flooring, or improving the room’s ventilation.
Disposing of Your Old Washing Machine
If you’re disconnecting your washing machine because you’re getting rid of it, it’s crucial to consider the environmental impact. Washing machines have a bunch of materials that can actually be recycled, like metal, plastic, and even some electronic parts. In many places, there are specific rules about how to get rid of big equipment. Talk to your local waste management body to find out what the right steps are in your area. Some stores will also recycle your old appliances if you buy a new one from them.
Moreover, if your old washing machine is still functional, consider donating it to a local charity or listing it for free on community platforms. Giving your old machine away helps someone who is in need and reduces the amount of waste going to landfills.
Better Maintenance Practices
Taking the time to disconnect your washing machine can really help you understand how it works, and that knowledge can lead to better maintenance down the line. Keeping an eye on your hose connections, giving your machine’s filter a good clean, and making sure everything is level can really help your appliance last longer. Additionally, being familiar with the disconnection process makes it easier to perform deep cleaning or address issues like clogs in the future.
Final Thoughts
Disconnecting a washing machine is a task that most homeowners can handle with the right preparation and care. By following these steps and considering the broader context – from safety precautions to environmental responsibility – you’ll be well-equipped to manage this aspect of home maintenance. If you ever find yourself feeling uncertain about something, it’s definitely a smart move to get in touch with a professional. Professionals are super helpful, especially if you come across any surprises on your journey. With this knowledge in hand, you’re now prepared to tackle your washing machine disconnection with confidence.